Showing posts with label
molding and casting small parts.
Show all posts
Showing posts with label
molding and casting small parts.
Show all posts
Just thought I'd assemble the model to see how it's all coming together. Nothing is glued up, just held together with clear tape. Still lots to do yet.
I recently bought a couple model Flak gun kits to scrounge for parts. A 1/48 scale and 1/35 scale German 88mm GunFlak 36/37. I selected the parts I wanted and modified them so I could mold them with a one piece block mold. This meant back filling any gaps, holes and bridges, anything that would allow the molding rubber to get into or behind. Parts were then glued to a piece of .5 mm styrene and enclosed on each side with my LEGO blocks. The advantage of doing this is of course unlimited greeblies. I can now add as many as I want without worrying about running out.
Selected parts.
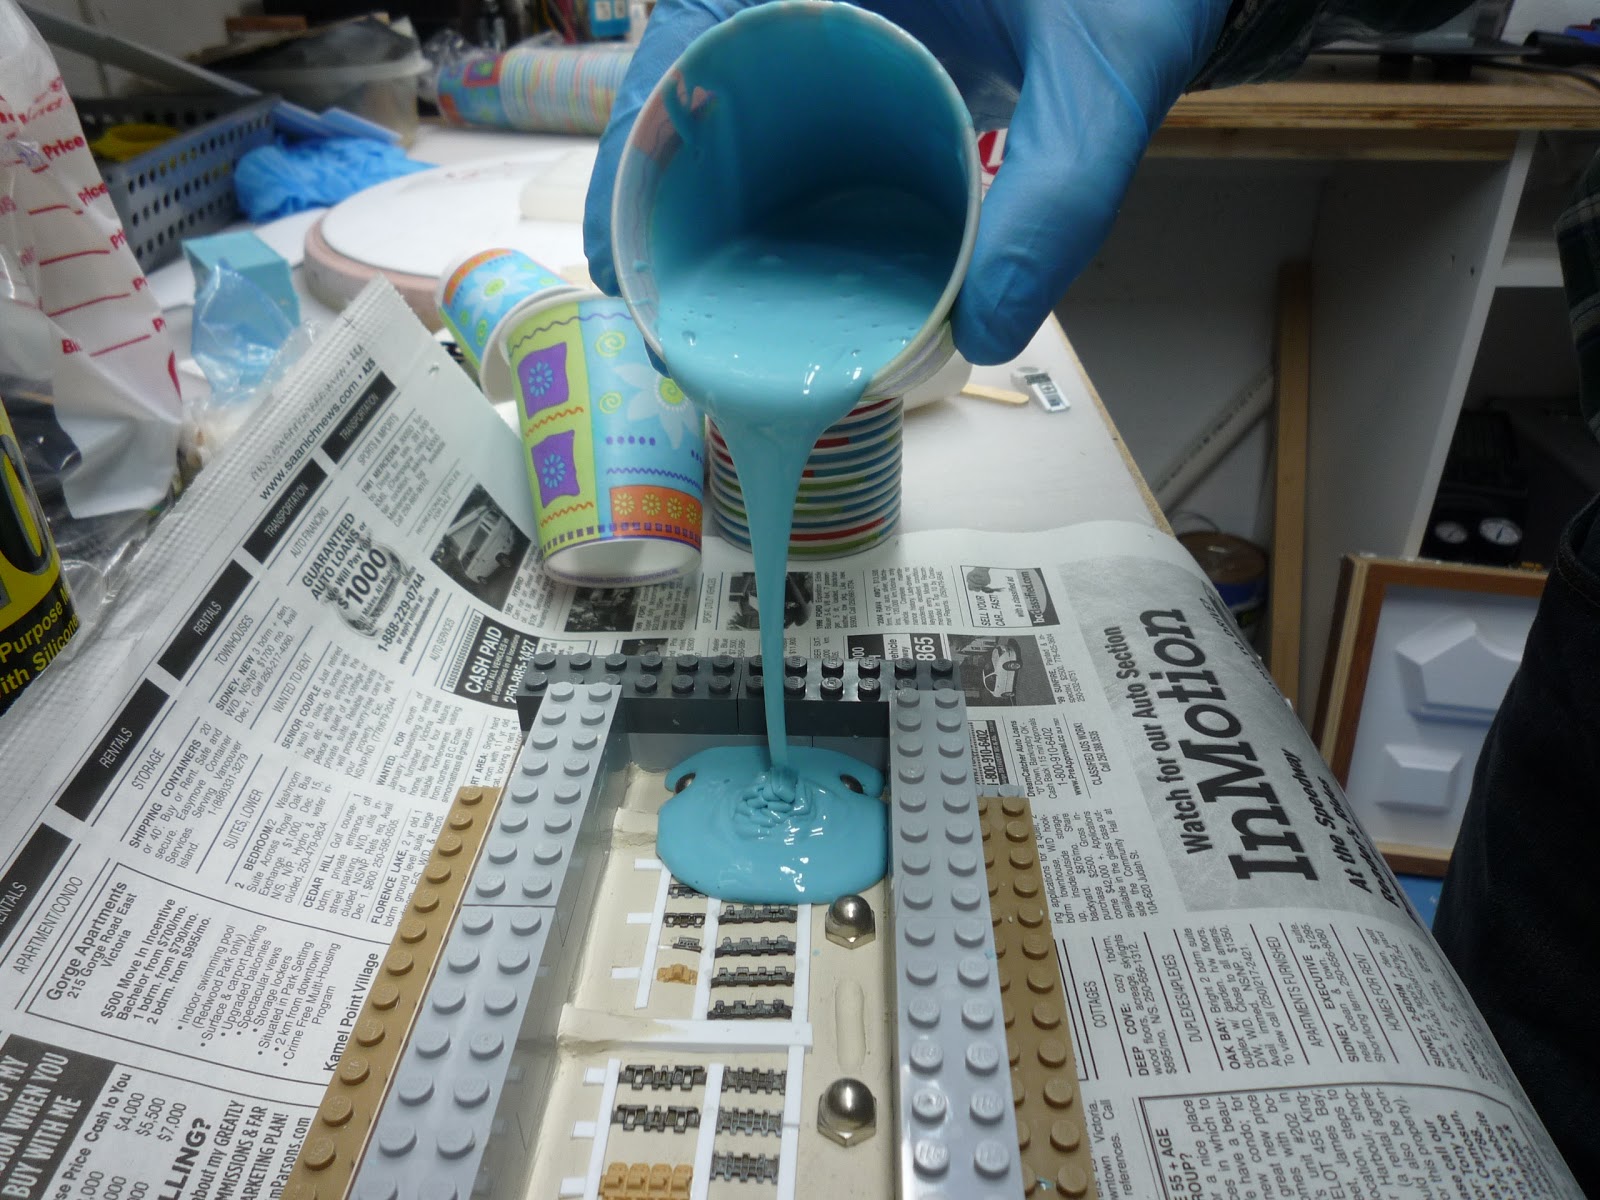
Set up ready for molding. I used OOMOO 30 for this mold.
Over night in the pressure pot and great results. I also cut the back off a tank model and molded it as well. I'll place it under the YT-1000 between the engines.
I used Smooth Cast 305, it has a longer pot life and requires 30 minutes to set, allowing more time to pour and for bubbles to be crushed in the pressure pot.
I just dribble the Smooth Cast into each cavity and seal up the pressure pot. Even though the casting material sets up in 30 minutes, I recommend you leave it in the mold overnight. The cast may be set up, but I find it's still a bit soft and can easily be deformed by handling it.
IMPORTANT NOTE: When molding and casting this type of mold, it is very important that the molds are laid out perfectly level inside your pressure pot or on your work bench. If not you will end up with a wedge shaped mold as the rubber sets up. Then when you set your mold up to cast, the casting material will flow to one side and you will not be happy with the results.
The cast parts are perfect and bubble free. All I have to do is cut away the overspill and sand the back side of each part.
Perfect copies.
I'm
really impressed with how this part came out. As you can see it's only
34mm long and you can see that all the details of the part are cast with no bubbles.
The YT-1000 model I'm building has 5 sets of landing gear. I have molds for the landing gear but will need to make 5 sets of bay doors. So making a mold and casting them is the ideal solution.
Materials used:
Smooth-On's OOMOO 25, Smooth Cast 300
Mann Ease Release 200
The doors are scratch built and are 12mm x 33mm and only .5mm to 1.5mm thick. This is the inner side.
And the outer side.
Here I've attached the parts to styrene strips, the larger filler pipe on the right, and smaller air vents above.
The grey part will be the landing bay bulkhead with the opening mechanism.
I purchased a pasta maker which allows me to roll my plasticine into nice flat sheets. I've set the parts onto the sheet.
The parts need to set down into the plasticine so the rubber can't get under the parts.
This is after the first pour and this side of the parts have been cleaned up. Some stray rubber will find it's way under so you need to remove any bits.
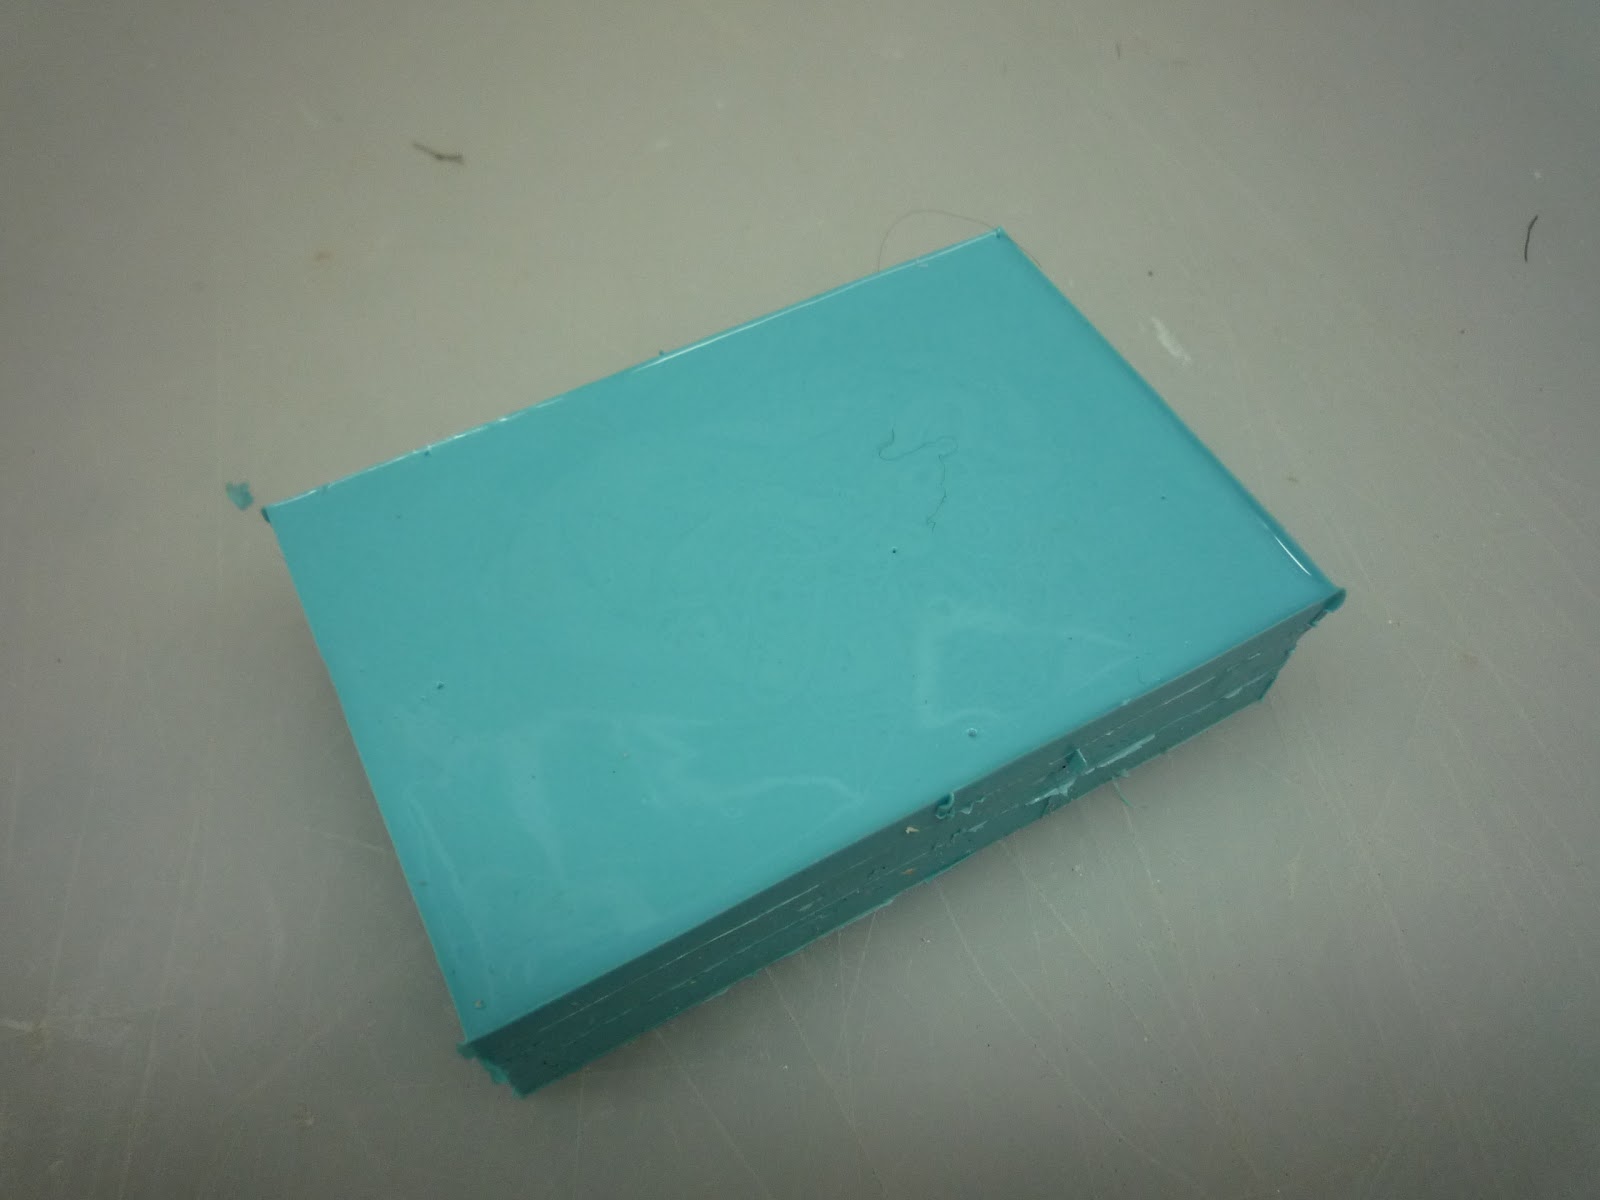
The final pour and a block of rubber.
The mold release worked great, the two halves pull apart with no problem spots.
The two mold halves. I used some small scissors to trim any rubber away from the air vents and cut a funnel shape at the pour hole.
The mold is set up and
ready to pour. It's difficult to measure how much casting material I'll
need so I just guess and pour the extra into some standby molds.
Don't need very much for such a small mold.
The casting material has set up and oozed out of the air vents. That tells me the mold is full.
It's important to know that small amounts of casting material will set up more slowly than large amounts. Part of the chemical reaction in the mixed casting fluid creates heat, this helps in setting the solution. Small amounts will only create small amounts of heat. So it's a good idea to leave your cast in the mold until you are sure it's hard enough to handle. Too soon and you risk deforming the soft cast.
A perfect cast. A bit of flash where the casting material oozed into the space between the molds, not at all unusual and easy to trim off.
 Here the parts are set beside the originals.
This is what the doors would looked like closed. On the finished model they will always be open.
I'm starting to run low on some small parts for my YT build, namely small tank track sections. I could go out and buy more model tanks, and I have done that, but I wanted to try molding and casting the parts I had left.
The method for molding and casting small parts is to build your mold so the object is cast from the bottom up. A common problem with casting from molds is trapped air. If you built a mold with only one hole in the top, the casting material could block the escape of any air, leaving the bottom half of you mold empty. You would then only have half a cast.
This diagram should explain the idea of casting from the bottom up:
This is what the finished mold would look like. Your casting material would be poured into the funnel, it would flow to the bottom of the filler tube then start to level out as it rises through the void left by the original part. Air would be pushed up and out through the air vent as the casting material rises.
These are the parts I plan to copy. The largest part is 14mm x 7mm, and the smallest is only 5mm x 2.5mm.
I started by gluing each part to some thin strips of styrene. These will act as channels for the casting material to run through and for air to escape out the top.
It all looks a bit sloppy but it will do the trick. There are 3 pour holes and 6 air vents.
I've placed the parts on a bed of Plasticine and surrounded it with LEGO. I saw the acorn nut idea in a Smooth-On catalog.
You'll see what these are for later. You may have noticed my air vents don't go to the top, well, they should. I cut them too short so I'll have cut them longer with an x-acto after the 2 mold halves are done.
It is VERY IMPORTANT to use a plasticine that is compatible with the rubber you are using. Some plasticines have chemicals that can inhibit the curing of the rubber. So always test your materials before making your mold.
I'm using Smooth-On
OOMOO 25, which I found to be too soft. It has a shore hardness of 25 and I would have preferred something a bit harder.
What's Shore Hardness?
After a few hours in my pressure tank I have removed the mold and carefully separated it from the Plasticine. I've placed it facing up into a box of LEGO. I also cleaned up this side of the mold by removing any stray rubber that found it's way under the parts. This side of the parts should be clean and free of any rubber.
A few light coats of mold release and we're ready to pour the second half of the mold.
A previous mold of mine failed when I used the wrong type of mold release. I had to cut my original out with an x-acto knife. I found this release to be the correct one to use on Silicone molds.
You can now see both halves of the mold and why I stuck a bunch of acorn nuts on my first half. They will act as registration marks and will make it possible to line the mold halves up perfectly every time. And don't scrimp on acorn nuts the more the better if you have room.
A piece of cardboard on each side and some rubber bands will hold your mold together.
I poured some Smooth cast 300 into the mold until I could see it rise up out of the vent holes. The mold was then placed in the pressure tank at 60 pounds pressure for an hour. The Smooth Cast 300 has a very low viscocity (80 cps) allowing it to flow easily into small spaces.
What's Viscocity?
Once the parts have set, the two halves of the mold are separated revealing the cast parts. Usually the first cast will reveal any flaws like a blocked vent or a spot where air gets trapped. You can fix these problems by cutting a new vent with an x-acto knife.
After a wee bit of cleaning up, the cast parts (in white) are displayed next to their original parts.
What might I do differently next time?
- I would use a stiffer rubber. A stiffer rubber would not deform as easily as a soft rubber would.
- I would add small dowels or rods of styrene to the bottoms of the parts I intend to cast rather than glue them along a styrene strip like I did for this set. This would make it easier and neater to cut the cast part free from the sprue.
- I found getting my set of parts to lay flat on the bed of plasticine tricky. I kept having voids under the parts. I intend to buy a noodle maker which will help me roll nice flat sheets of plasticine. I may also try laying each part on the bed of plasticine before I connect them all together.
- I might try to re-use an old sprue from a model plane or tank and attach my parts to that instead of making my own.
- Use round styrene instead of square for my channels. I could bend them so the casting material flows better.
 |
| A noodle maker |
For more information on Smooth On products visit this site:




 Here the parts are set beside the originals.