Follow along as I scratch build model space ships and the occasional prop. Works in progress and tutorials.
YT-1000 ramp
Showing posts with label blaster. Show all posts
Saturday, 20 September 2014
Finished Scratch Built DLT
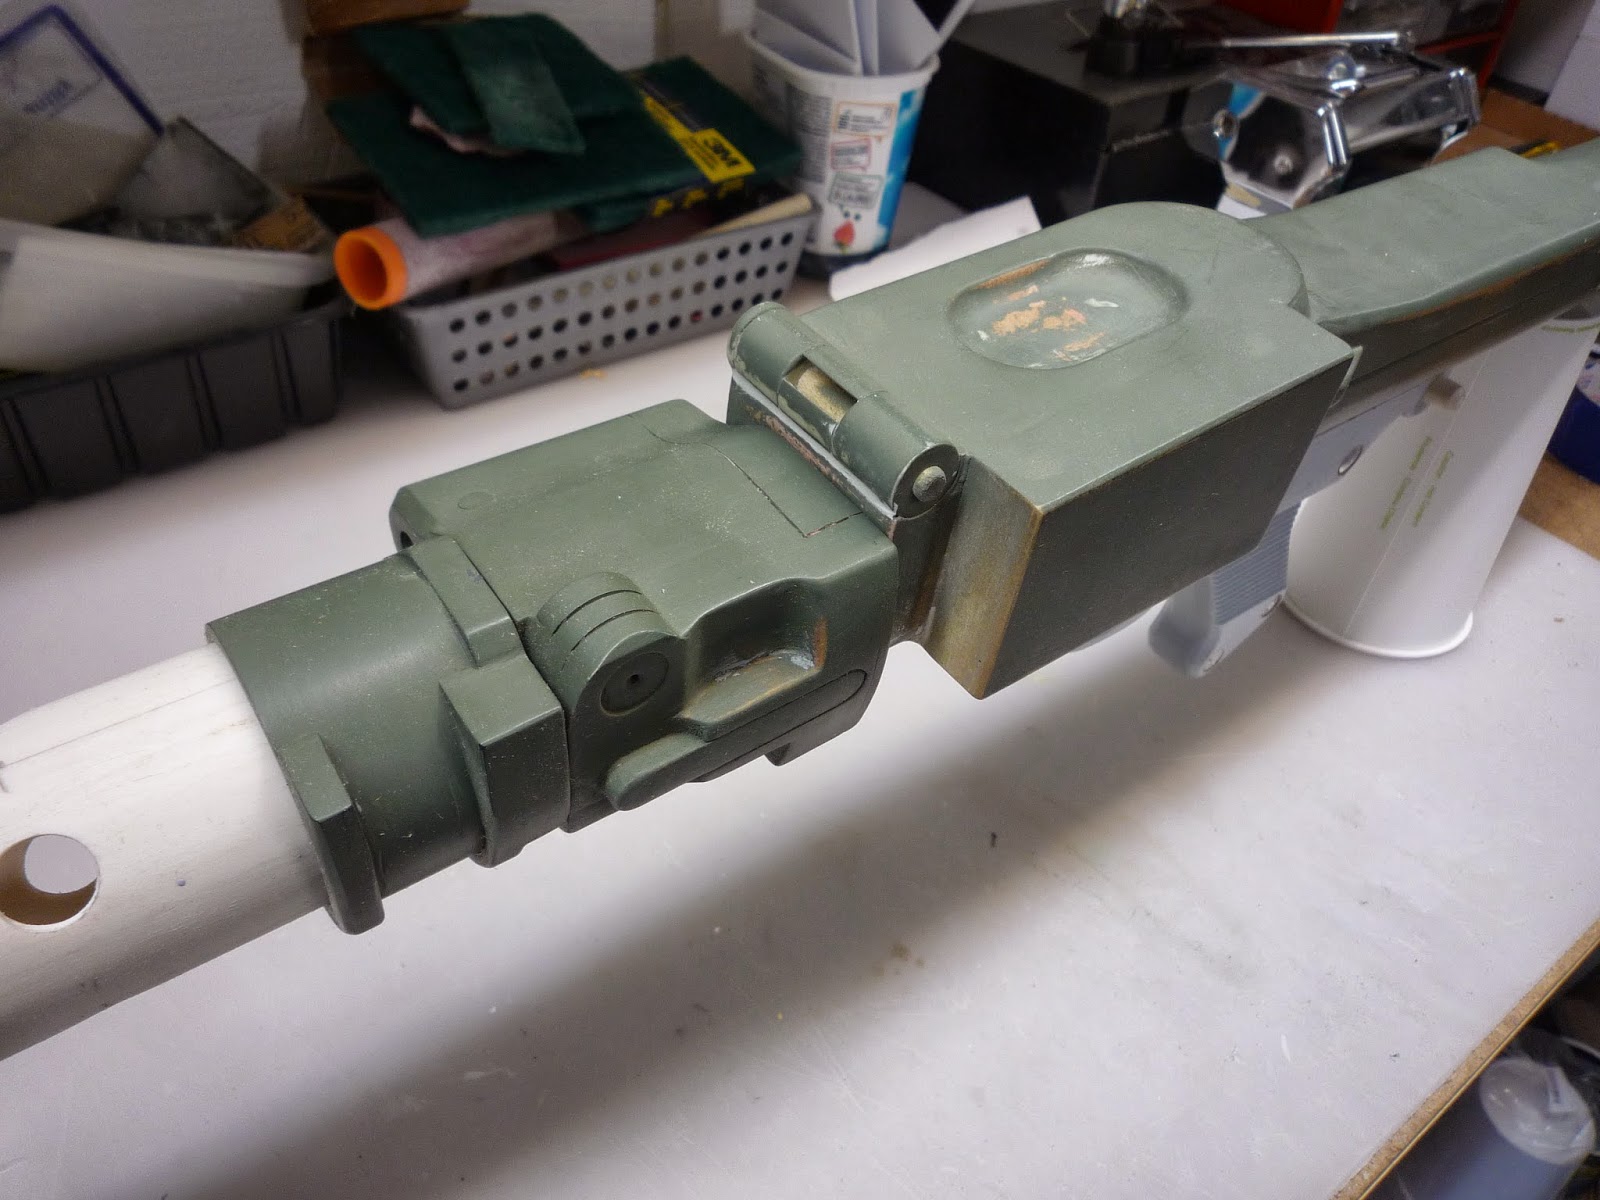
So this project is finally finished, I now have a DLT-19 to go with my Sandtrooper Costume. This plastic blaster was made by scratch-building the individual parts, then molds and casts were made. Many of the original parts were carved from MDF which is not very durable for use. So a material called Feather-lite was used for the larger parts. Once assembled it was primed then painted with two coats of silver. Once the silver was quite dry, a coat of Satin Black went over the whole thing. After and hour of drying, I used a damp SOS pad to rub over the whole blaster. This gives it a nice smooth feel and with a little extra effort rubs paint off the high spots to reveal the silver paint below.
Sunday, 30 March 2014
DLT-19 Blaster
So putting modeling spaceships aside for now to focus on making myself a new blaster for my Sandtrooper costume. One of the iconic weapons for a Sandtrooper is the DLT-19, which is a re-purposed MG-34, a German machine gun.
The creators of Star Wars often used actual weapons and modified them with a few greebles to become blasters. Not a whole lot was done to modify the MG-34 other than cover the barrels vent holes with good old T track and cover the slot that receives the bullets.
I found online a set of drawings that were pretty well detailed but not easy to read. No measurements and limited views of detailed parts. I knew how long the blaster would need to be so I blew the image up to actual size. I then spent weeks scouring the internet looking at images of the gun. Once I felt I had enough of that I began building.
The first item was the Flash Suppressor, pretty easy part to start with, just a few pieces of PVC plumbing and a scrap of MDF. I milled the MDF to a 6 sided dowel then formed it on my lathe.
Then lots of time fine tuning the shapes, adding details, priming and sanding.
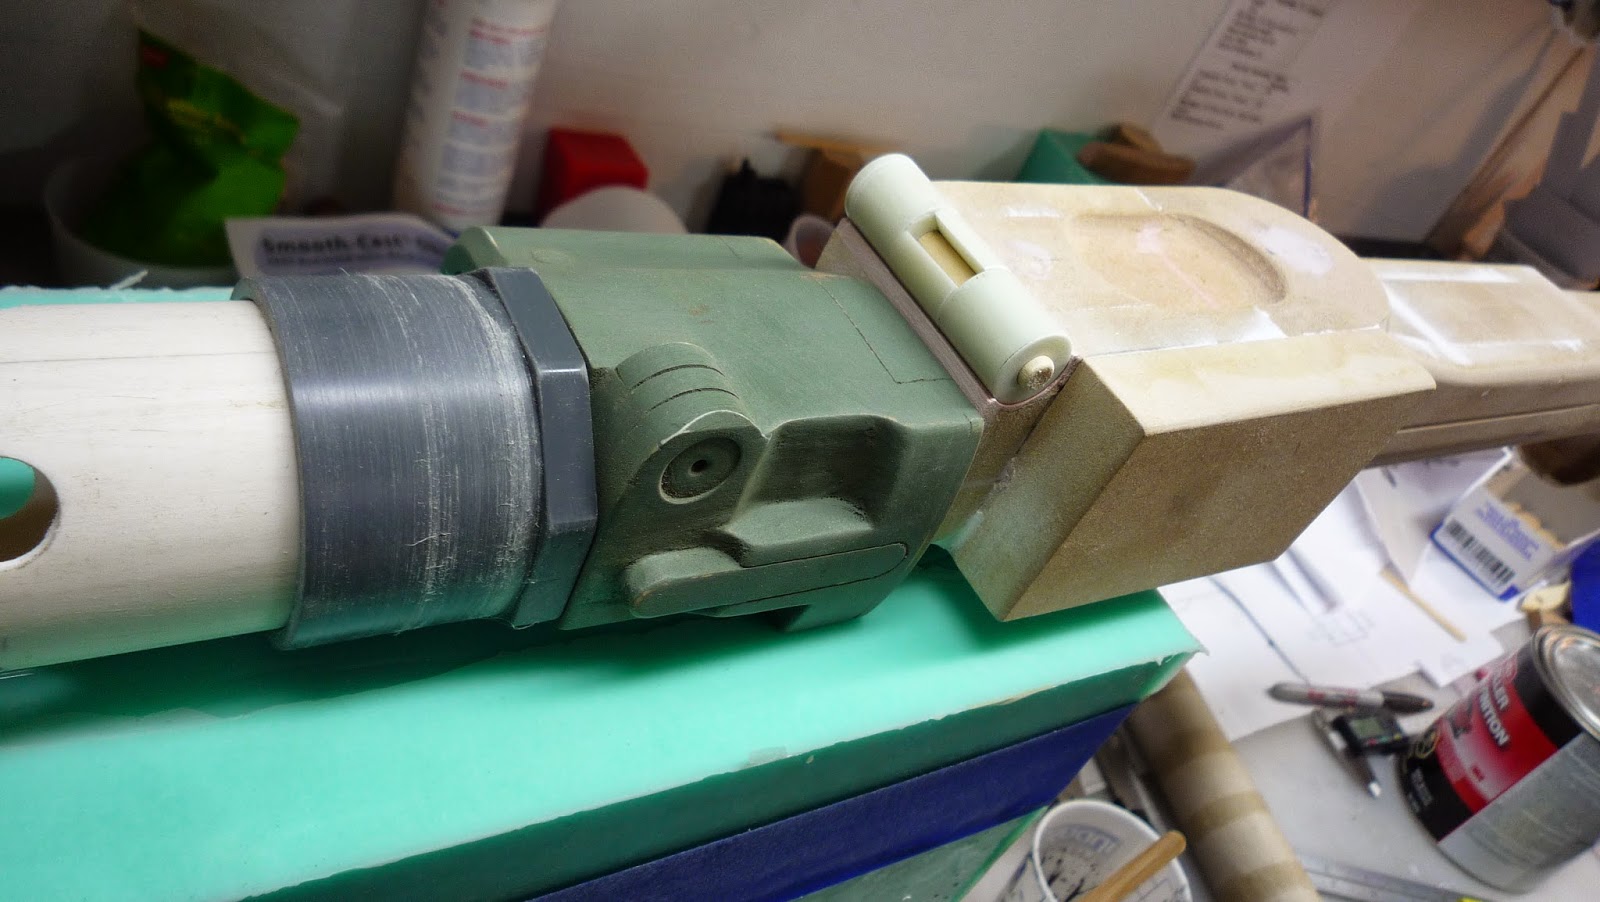
Still a few more parts to make plus I've also started molding and casting parts. The original parts shown here are to heavy or delicate to use as a prop, so the final blaster will be made from cast replicas.
Thanks for viewing.
The creators of Star Wars often used actual weapons and modified them with a few greebles to become blasters. Not a whole lot was done to modify the MG-34 other than cover the barrels vent holes with good old T track and cover the slot that receives the bullets.
I found online a set of drawings that were pretty well detailed but not easy to read. No measurements and limited views of detailed parts. I knew how long the blaster would need to be so I blew the image up to actual size. I then spent weeks scouring the internet looking at images of the gun. Once I felt I had enough of that I began building.
The first item was the Flash Suppressor, pretty easy part to start with, just a few pieces of PVC plumbing and a scrap of MDF. I milled the MDF to a 6 sided dowel then formed it on my lathe.
After that I worked on the other parts, going back and forth from one to the other. I don't know the names of the parts so I won't bother with that here.
The main body of the blaster was made by cutting MDF strips then rolling it into shape.
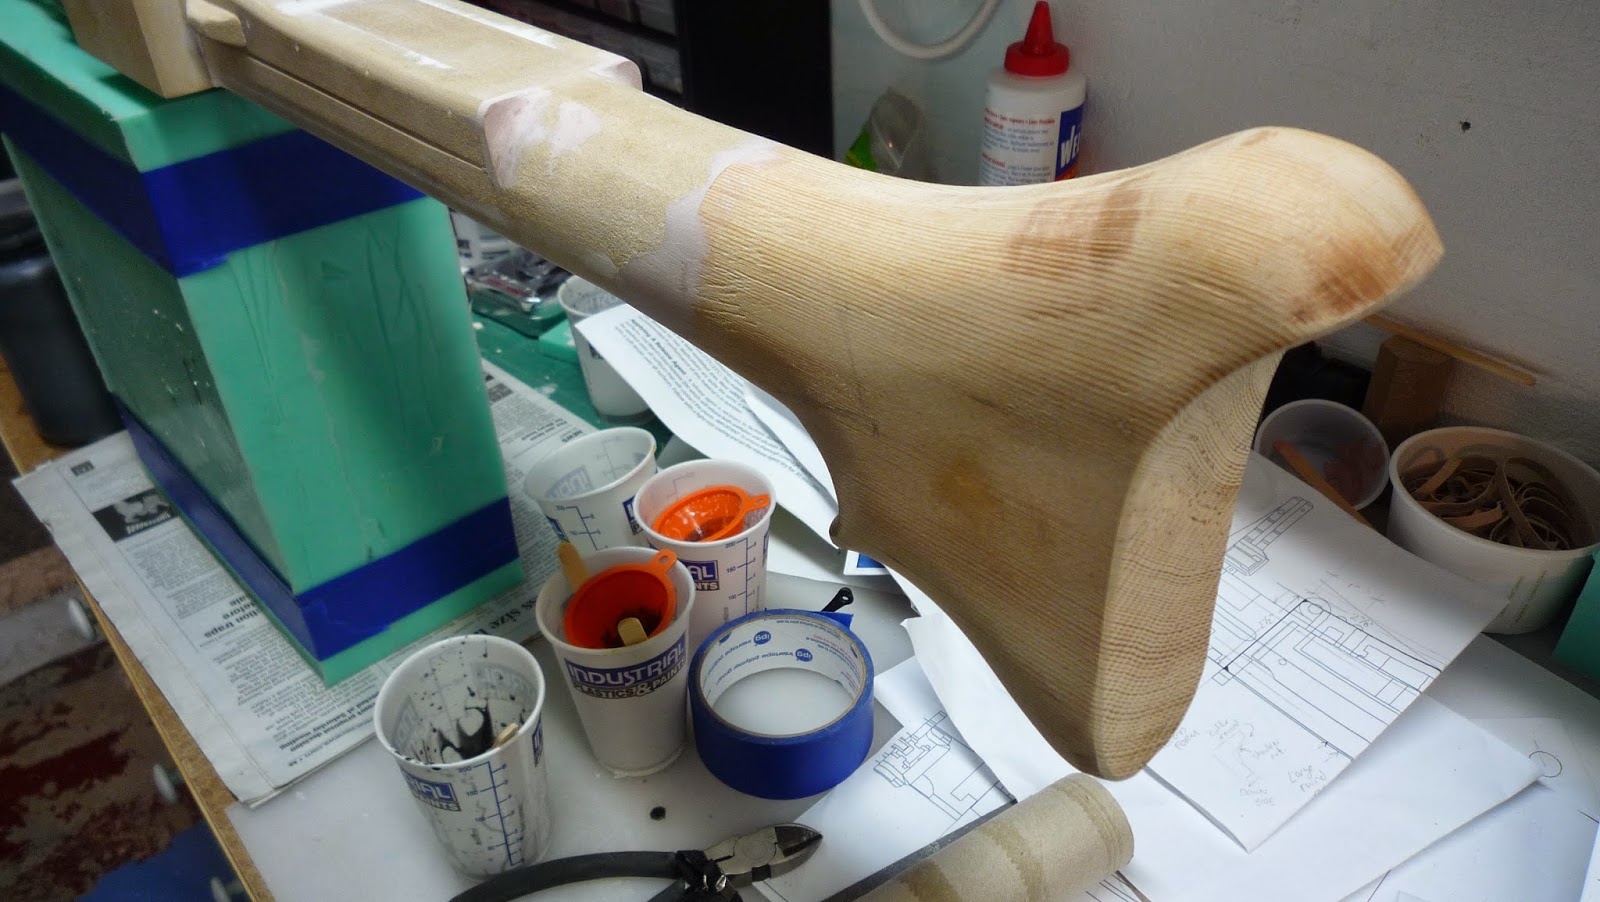
Other parts were made from MDF or Fir.
Then lots of time fine tuning the shapes, adding details, priming and sanding.
Still a few more parts to make plus I've also started molding and casting parts. The original parts shown here are to heavy or delicate to use as a prop, so the final blaster will be made from cast replicas.
Thanks for viewing.
Subscribe to:
Posts (Atom)