YT-1000 ramp

YT-1000 ramp
Showing posts with label Corellian Freighter. Show all posts

Monday, 4 January 2016

Finished Projects

Have a look here to see finished projects with links to their respective work in progress posts. I'll add new projects as they get finished and add photo's when I find them. I'll also try to keep it in chronological order.
Note: Cast parts refers to parts I made, then molded and cast, an especially useful technique when needing multiples of the same part.


Chernovan Tank from Warhawk Video Game (PS4)
I guess this is my first scratch built model using papercraft plans and stills taken from the game. Would still like to do a final paint job on this. Roughly 1/35 scale. All scratch built from styrene, cast parts and brass. The tank track are from a model tank kit.


William Underwood (re-named the Krista B) scratch built wooden model boat.
I found the plans and instructions for this in a great book called "Boat Modeling the Easy Way by Harold Payson". Built from various types of wood, some styrene and found parts. Only a few parts like the blocks and the prop are store bought.


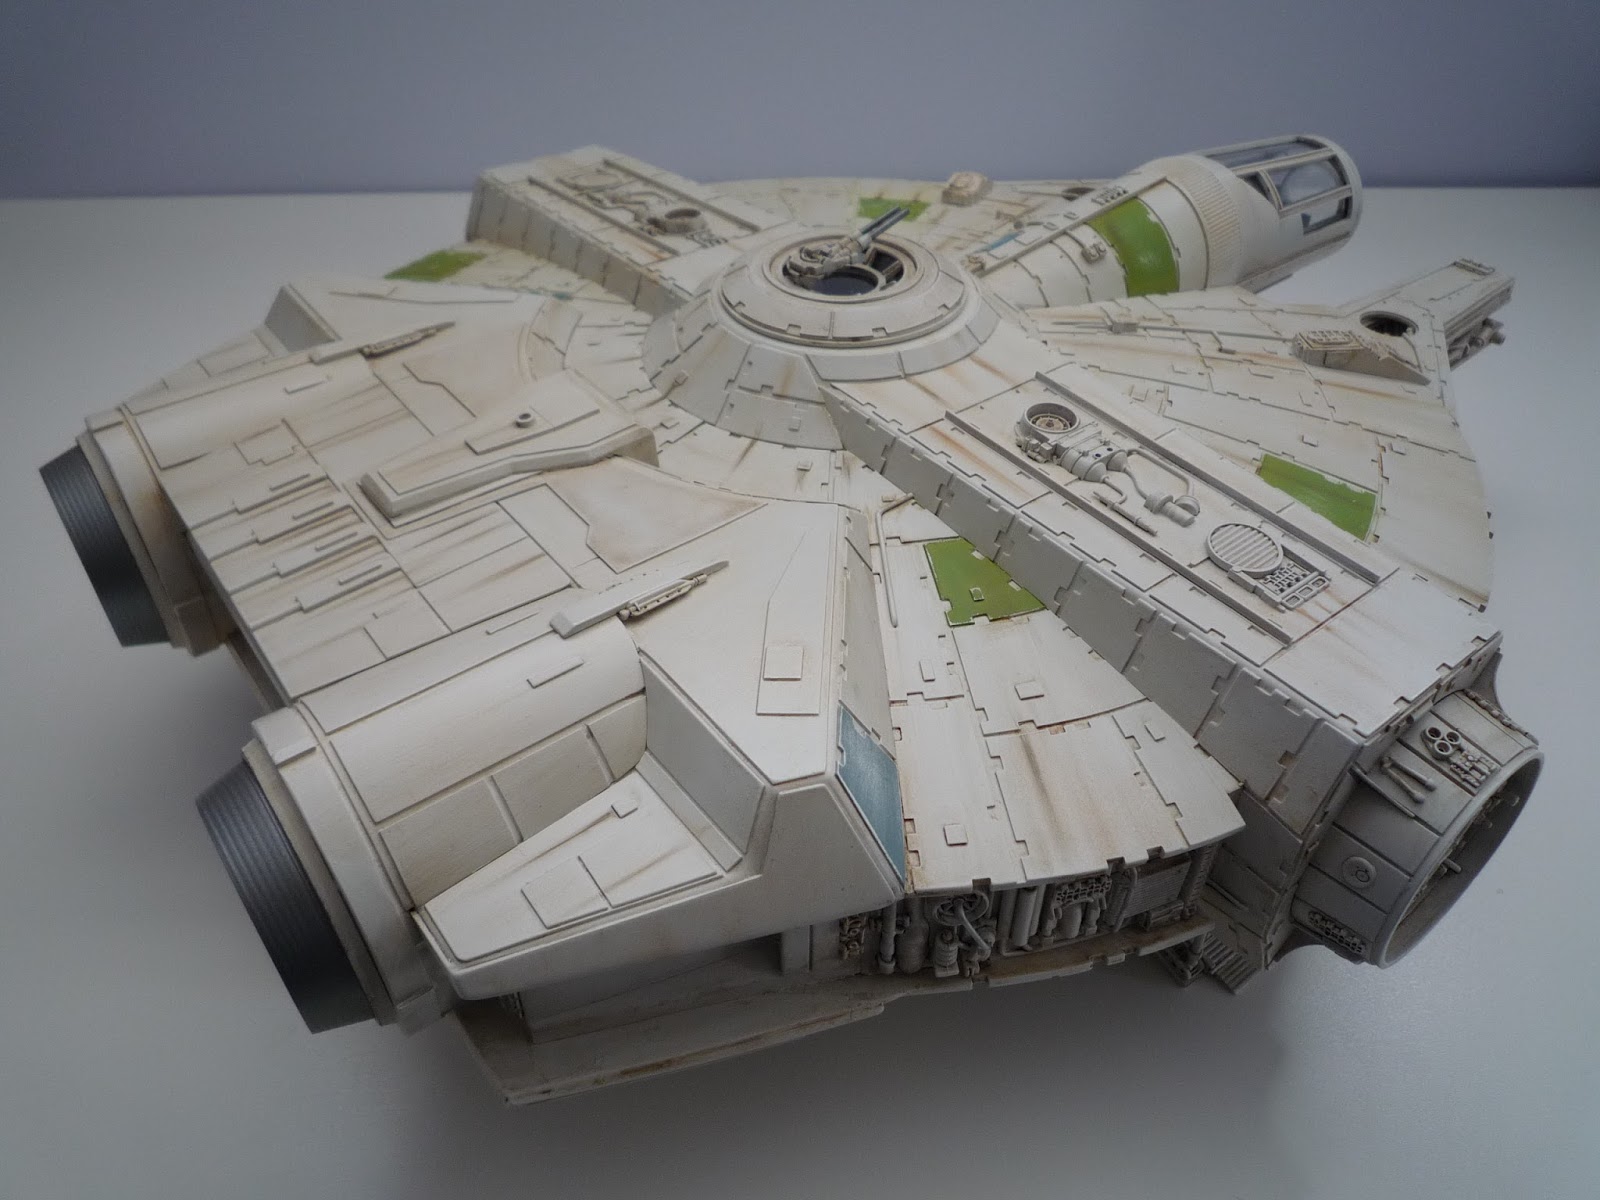
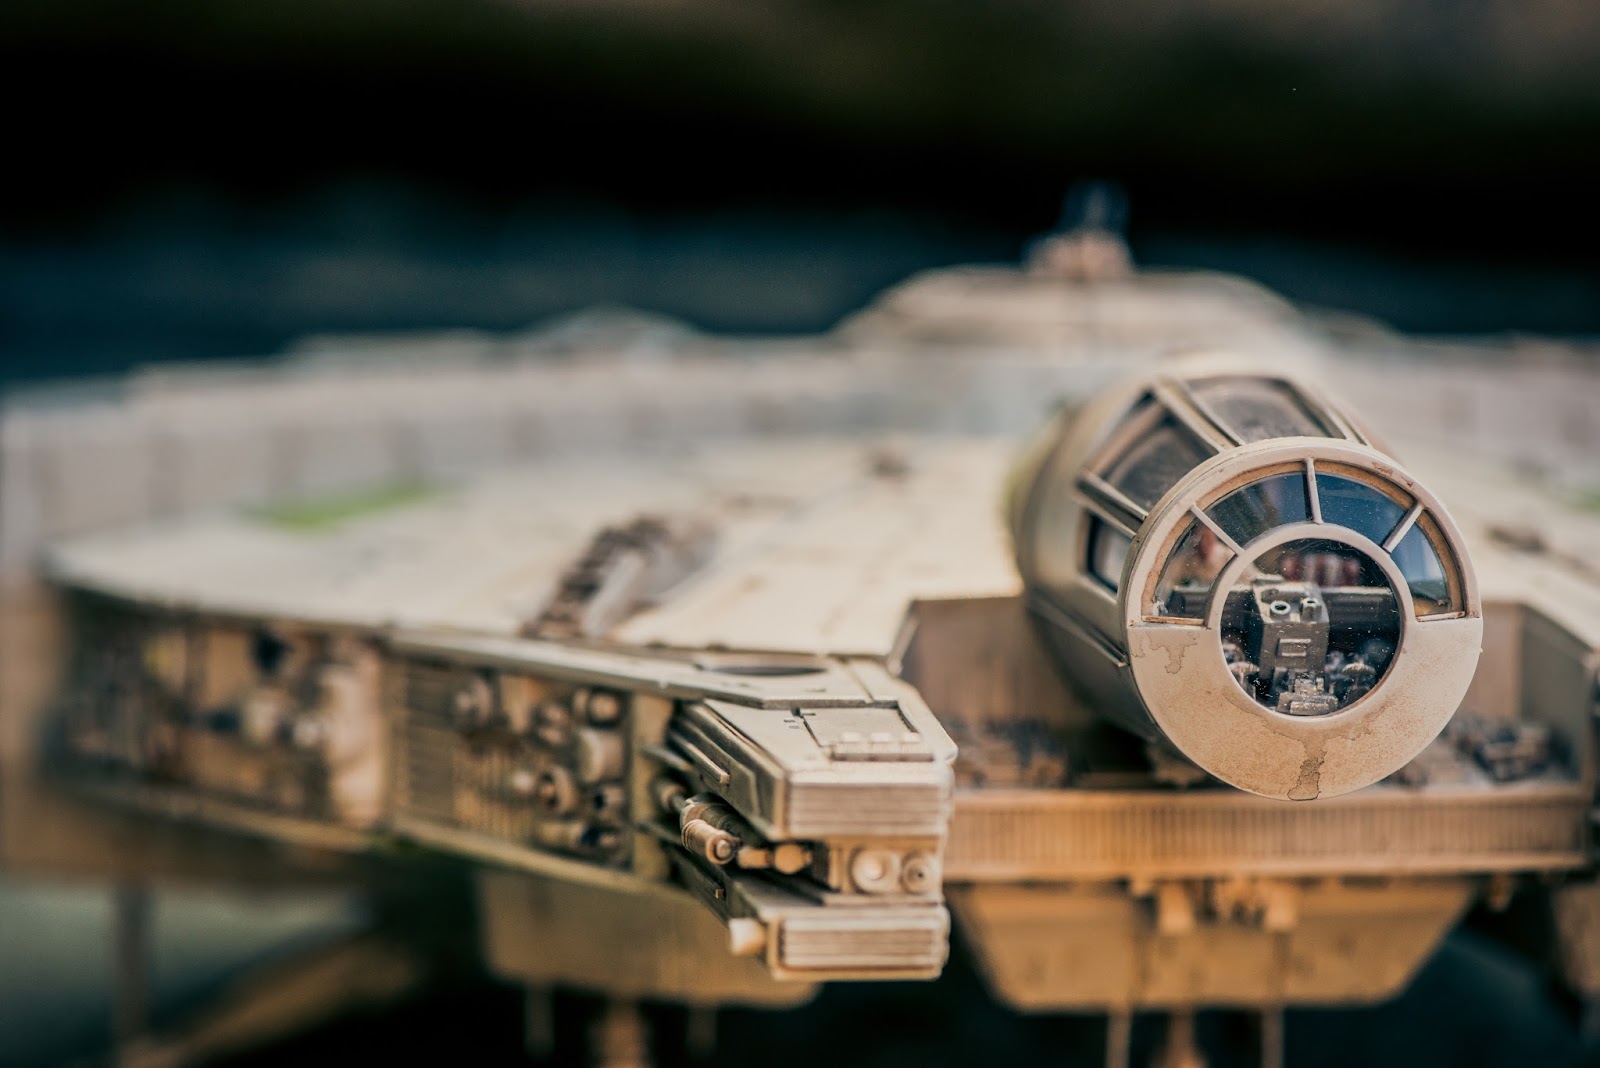
YT-1000 Corellian Freighter. From the Star Wars universe. A lengthy build, 16 months I think. Again scratch built from styrene, cast parts and model kit parts for all the greebles. 


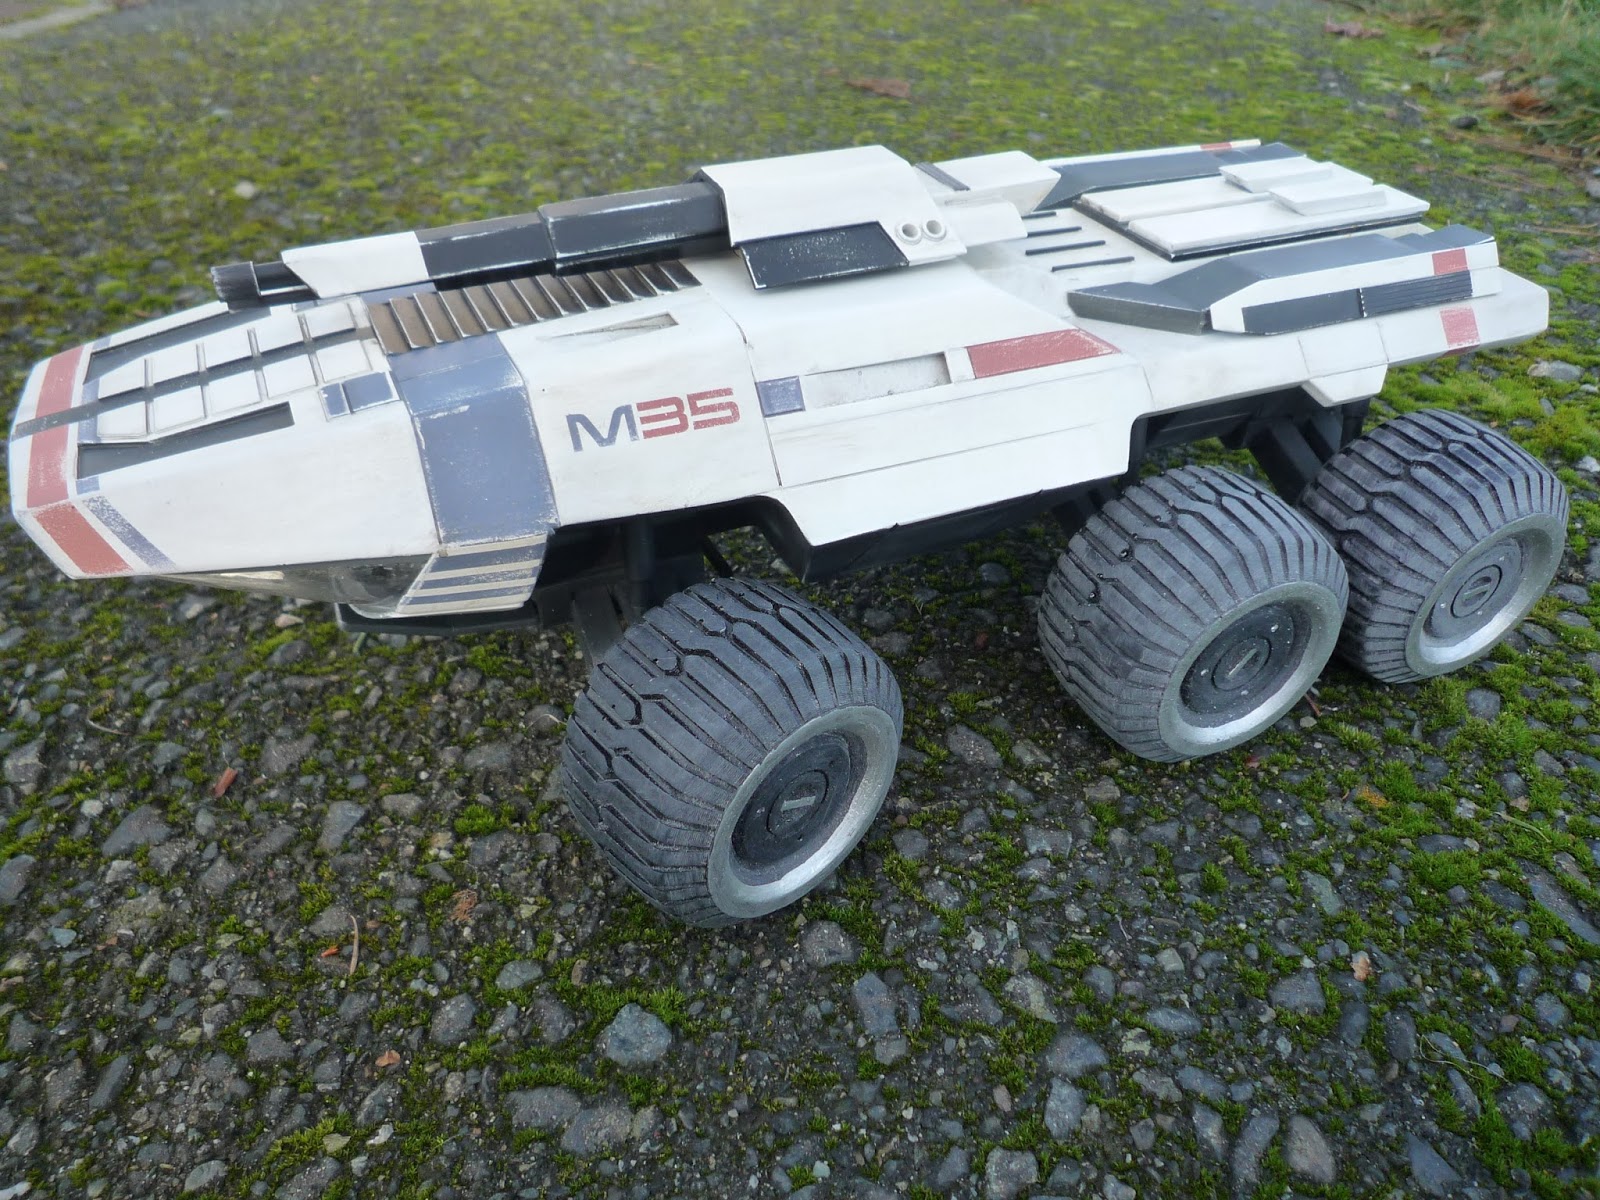
MAKO from the Mass Effect Video game (X-Box). Another scratch built, mostly styrene, cast parts and some 3D printed parts.


Rey's Speeder from Star Wars The Force Awakens.

Probably one of my fastest builds. 


More to come....

Saturday, 6 July 2013

YT-1000 part 9 Docking Rings and sides.

A little while ago I glued the upper and lower hulls together. Now I can proceed with the side details.
The docking rings were one of the first things I made so they've been sitting around for a while. First off was finishing the two side corridors.


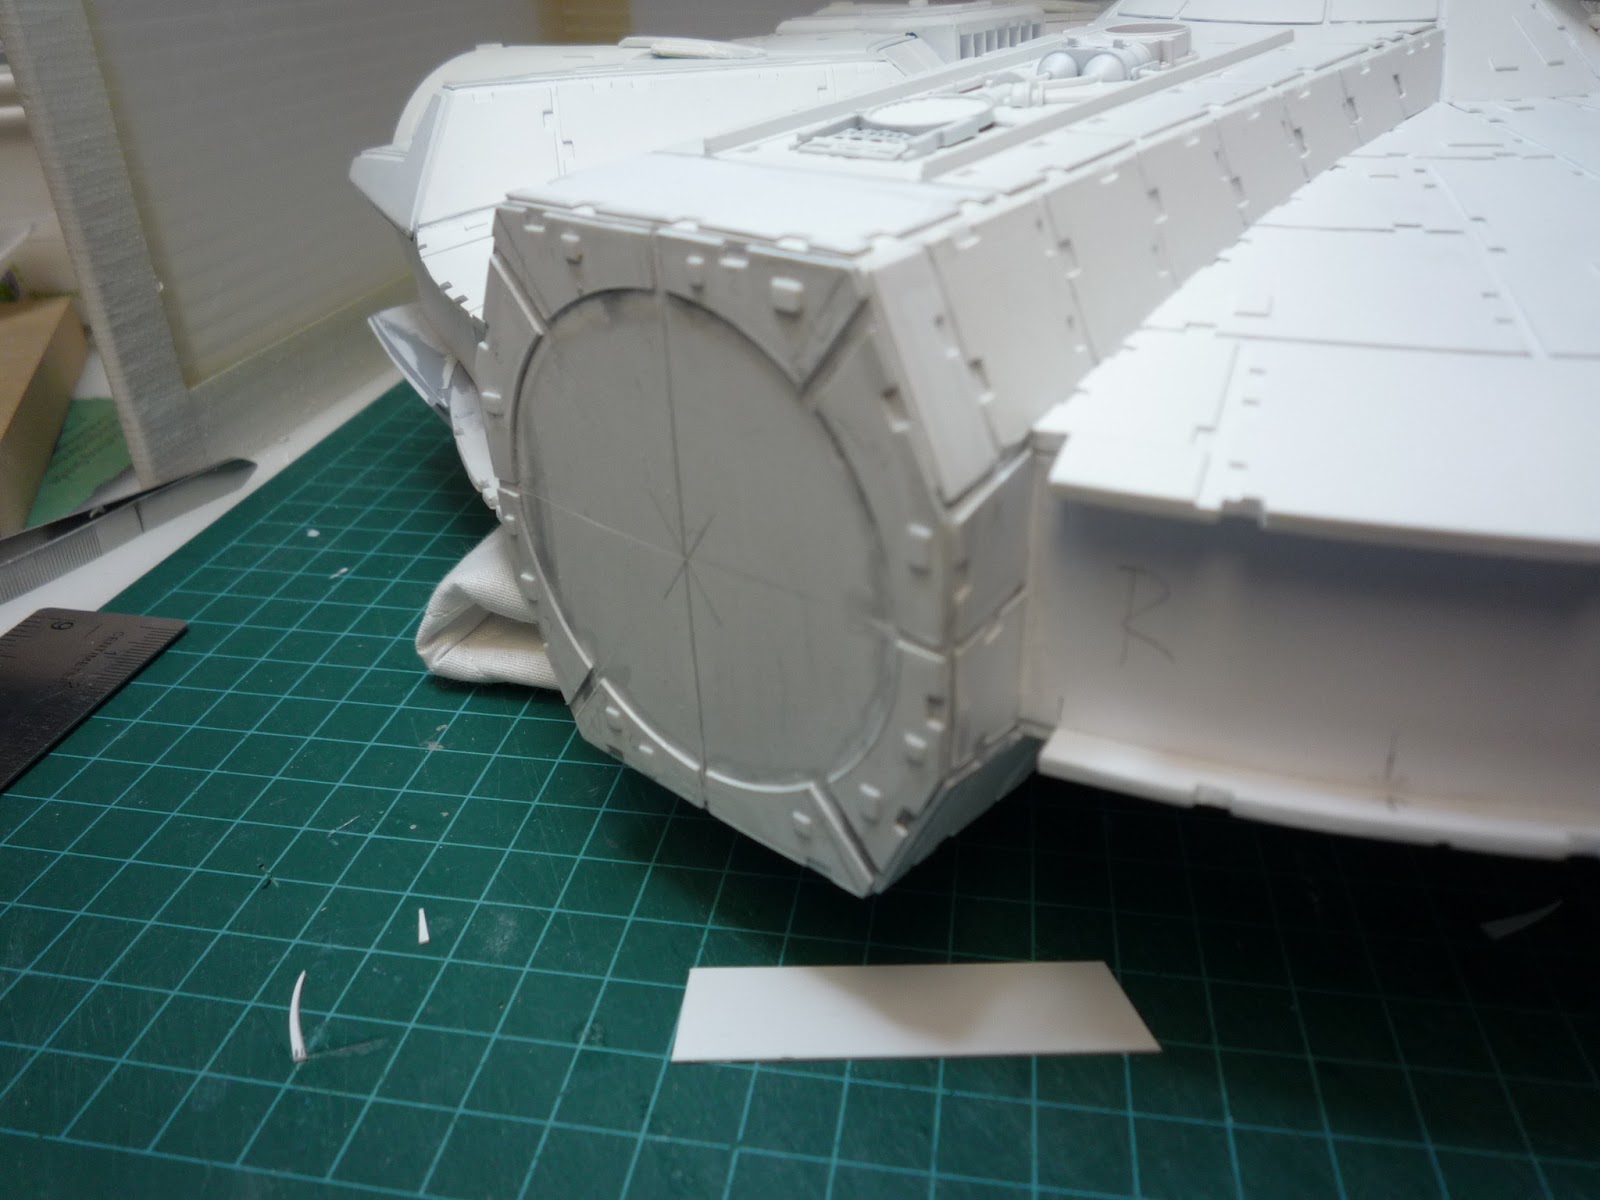
This meant adding pieces to the sides and adding ledger strips and some center supports for the end piece.


The ends were capped off.


Armor plates were cut to fit the end cap and around the docking rings.

The plates were glued in place and some patches were added.


The docking rings were glued in place and corner brackets were installed.


Greebles were added by gluing parts from my stock onto a strip of .75mm styrene. Then gluing that into place. I've built up a stock of cast parts and added them in with a few individual parts from model tanks, planes and ships.


And just a couple pictures showing the top and bottom views.


Saturday, 9 March 2013

YT-1000 Part 0, Specifications.

I thought I would make this post to inform you of what the Corellian Engineering Corporation's (CEC) YT-1000 Corellian Freighter is. 
First the Specifications:
(all info provide by the Haynes Manual for the Millennium Falcon)

Length: 28m
Maximum speed (atmosphere): 740kph
Hyperdrive: Class 3
Hyperdrive  backup: Class 16
Armament: 1 standard laser cannon
Crew: 2
Passengers: 4
Cargo: 75 metric tons
Cost: 85,000 (20,000 used)

For comparison here are the same Specifications for the YT-1300 (Millennium Falcon)

Length: 34.75m
Maximum speed (atmosphere): 800kph
Hyperdrive: Class 2
Hyperdrive  backup: Class 12
Armament: 1 standard laser cannon
Crew: 2
Passengers:9-15
Cargo: 25-100 metric tons
Cost: 100,000 (25,000 used)

These are of course factory specifications. 

Han Solo later upgraded his YT-1300 to a Class 0.5 Hyperdrive, making it one of the fastest ships in the Galaxy, and illegal.

The basic YT-1000 had fewer interior modular options than later models, but had a cargo capacity of up to 75 metric tons. The cockpit was placed in the center of the ships upper hull. It had large transparisteel windows which were retrofitted from earlier Barloz-class freighters.
The YT-1000 was well received by customers, but CEC decided to have a limited run of the YT-1000 in favor of building larger ships. 
The YT-1000 was replaced by the YT-1200 and the YT-1210, which introduced the side mounted cockpit. 


Sunday, 13 January 2013

YT-1000 Test Assembly

Just thought I'd assemble the model to see how it's all coming together. Nothing is glued up, just held together with clear tape. Still lots to do yet.


Sunday, 9 December 2012

YT-1000 Part 5 Front Landing Gear Pods

Originally I was only going to build 3 sets of landing gear, two in the back, one in front. But I decided to add two more in front just like the Falcon has. I set out to scratch build them instead of vacuum forming like I did other parts.
I used images of the Falcons under side to get some idea of what it should look like. Since the YT-1000 is smaller that the Falcon, I couldn't just copy parts from the Falcon and stick it on the YT-1000. Since I don't have drawings for the bottom side, and I don't think they exist, I can make it up as I like.
I made this diagram to show the difference in the size of the two ships. I used the docking rings or escape pods as they are sometimes called as a point of reference. Assuming they would be the same size on both ships. The YT-1300 on the left and YT-1000 on the right. Other parts like the turret windows are also the same size, but the whole ship is obviously smaller.
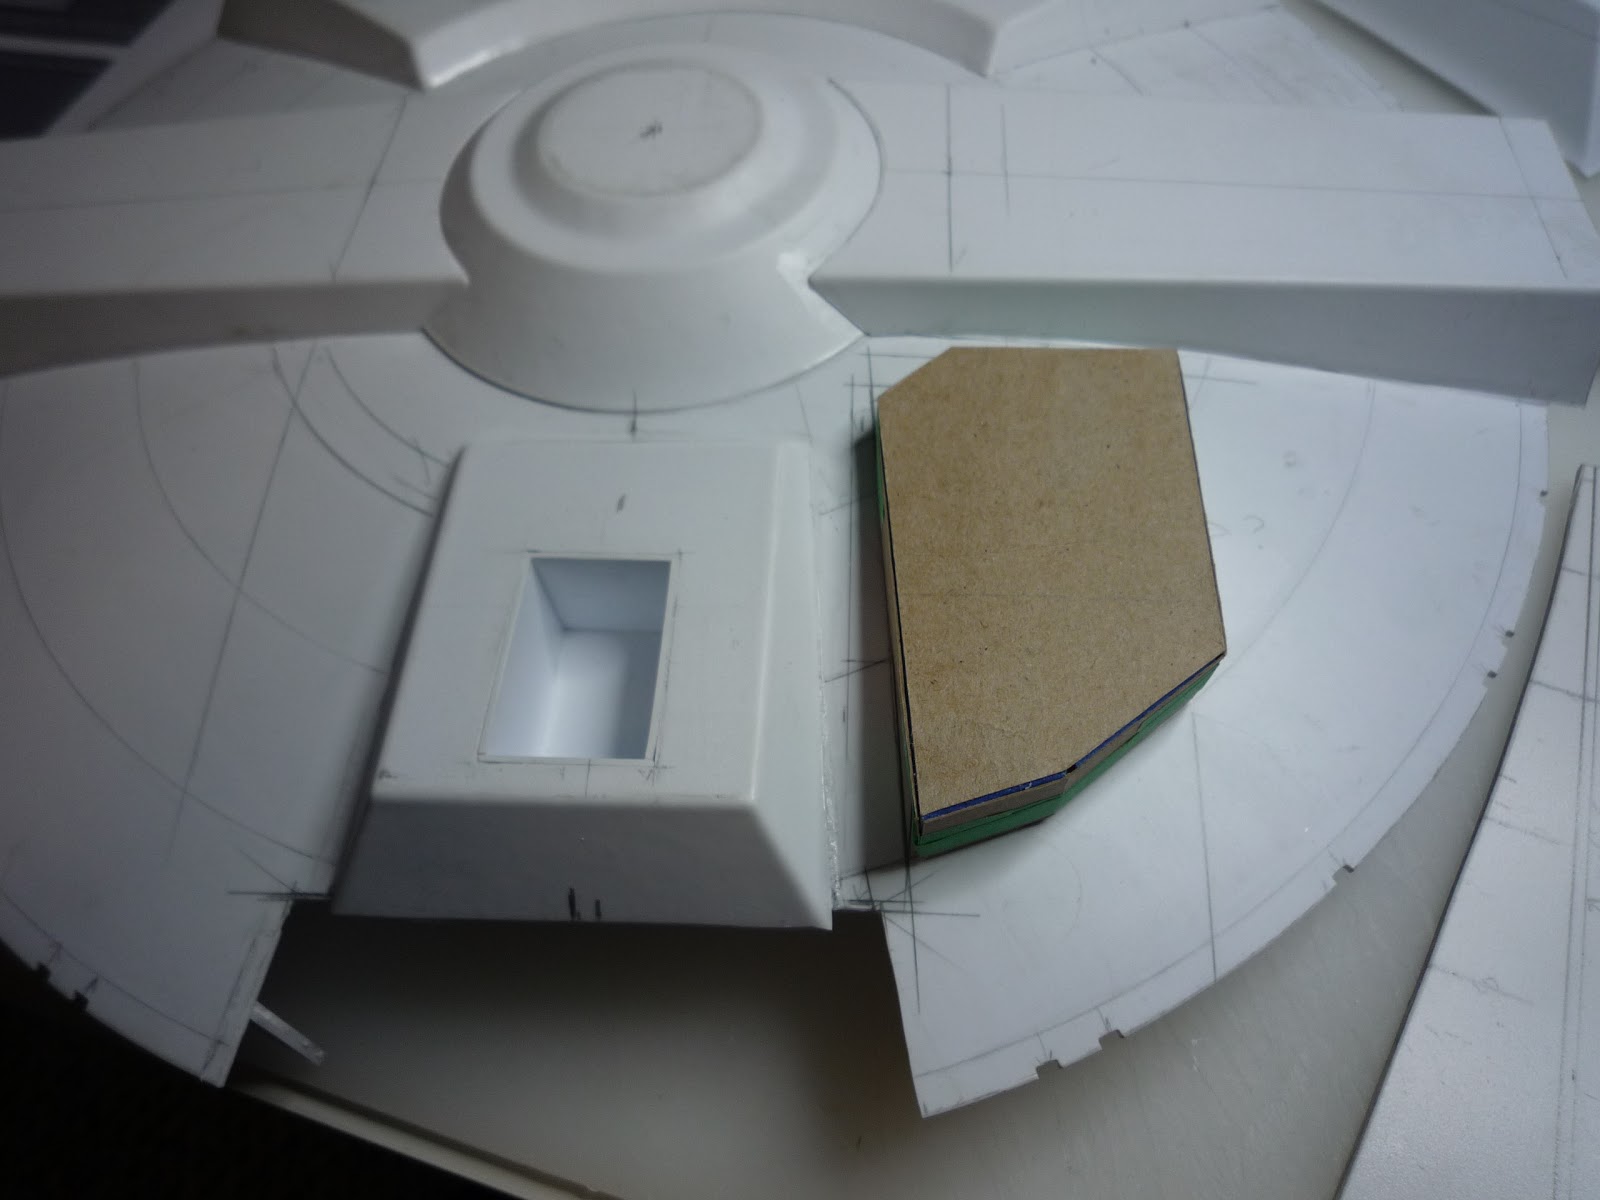
Started out with a card stock mockup. This was pretty tricky as the hull is curved and the bottom of the new part had to be in the same plane as the existing center pod.


Once the card stock mockup was acceptable, I just traced the cards onto styrene.
The other side was just a mirror image of the first. I traced the parts from the right to make the left.
Here you can see what I mean about the pods needing to be on the same plane.
The holes are cut for the landing gear and transferred to the hull to be cut out as well.

A box is built for each pod. As you can see it would protrude right into the hull.
Hole marked and corners drilled.