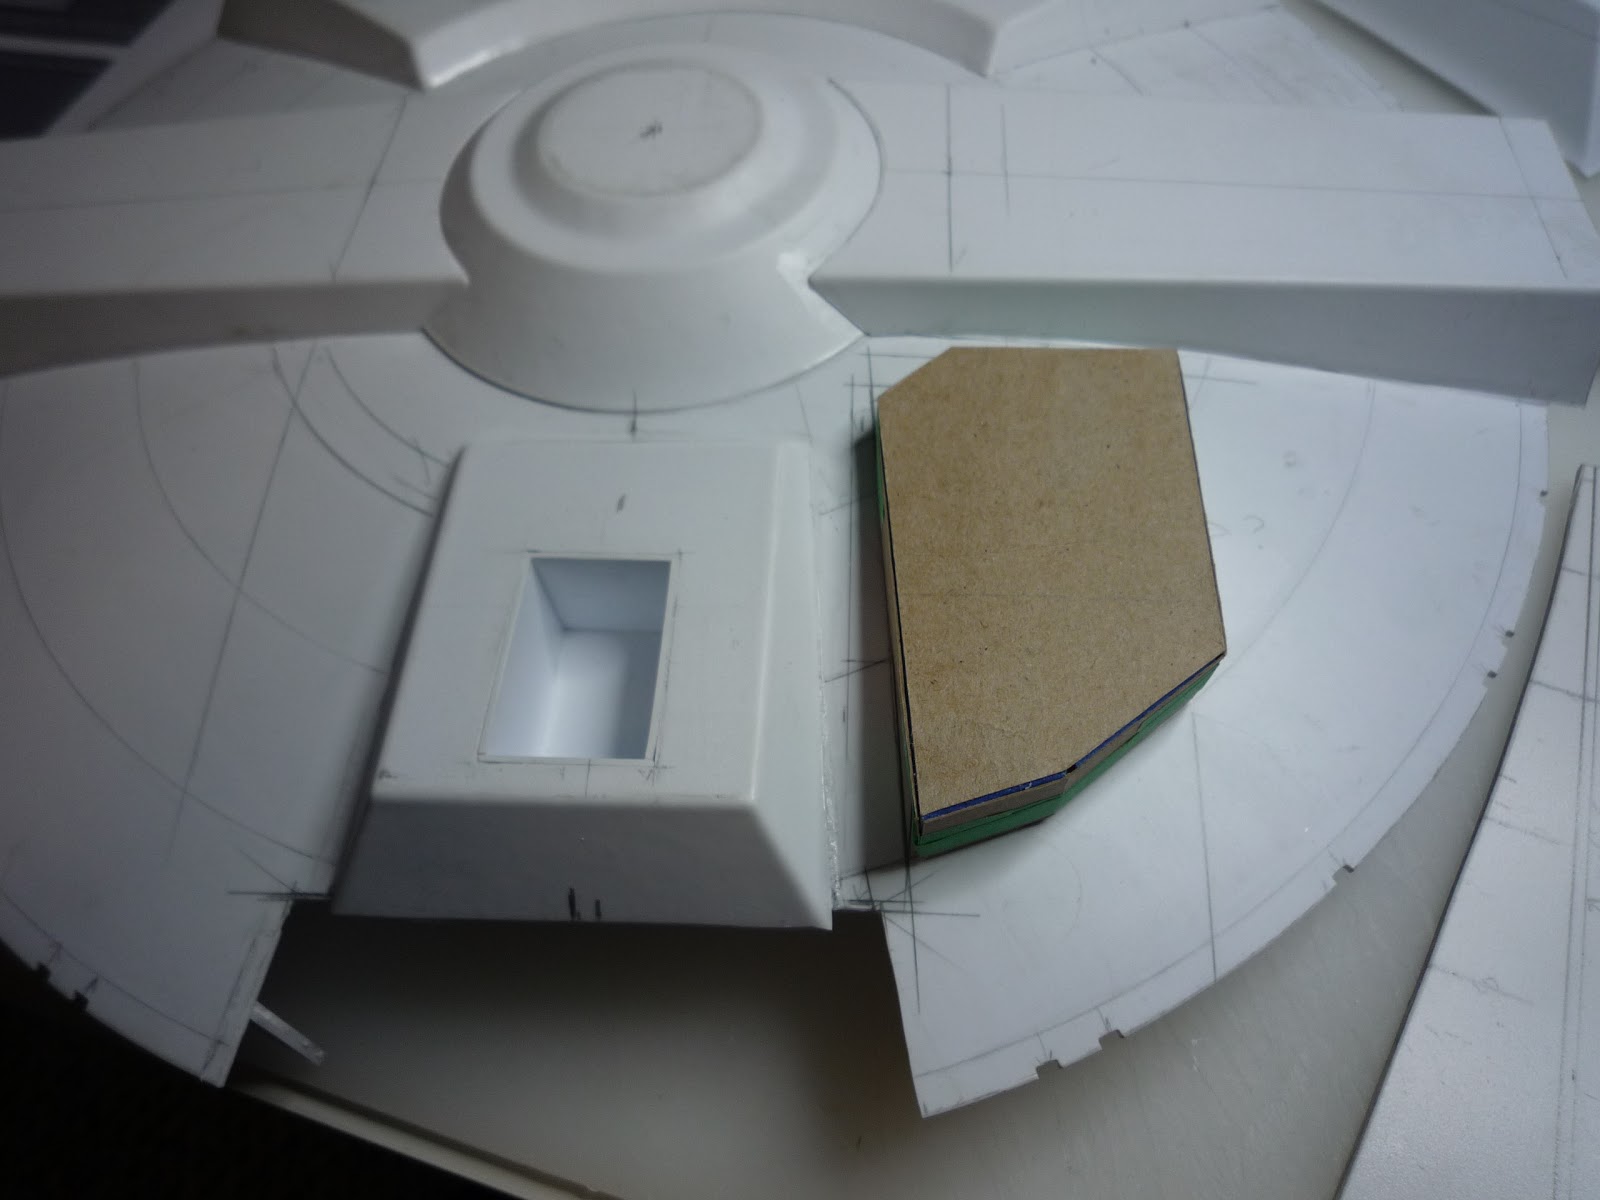
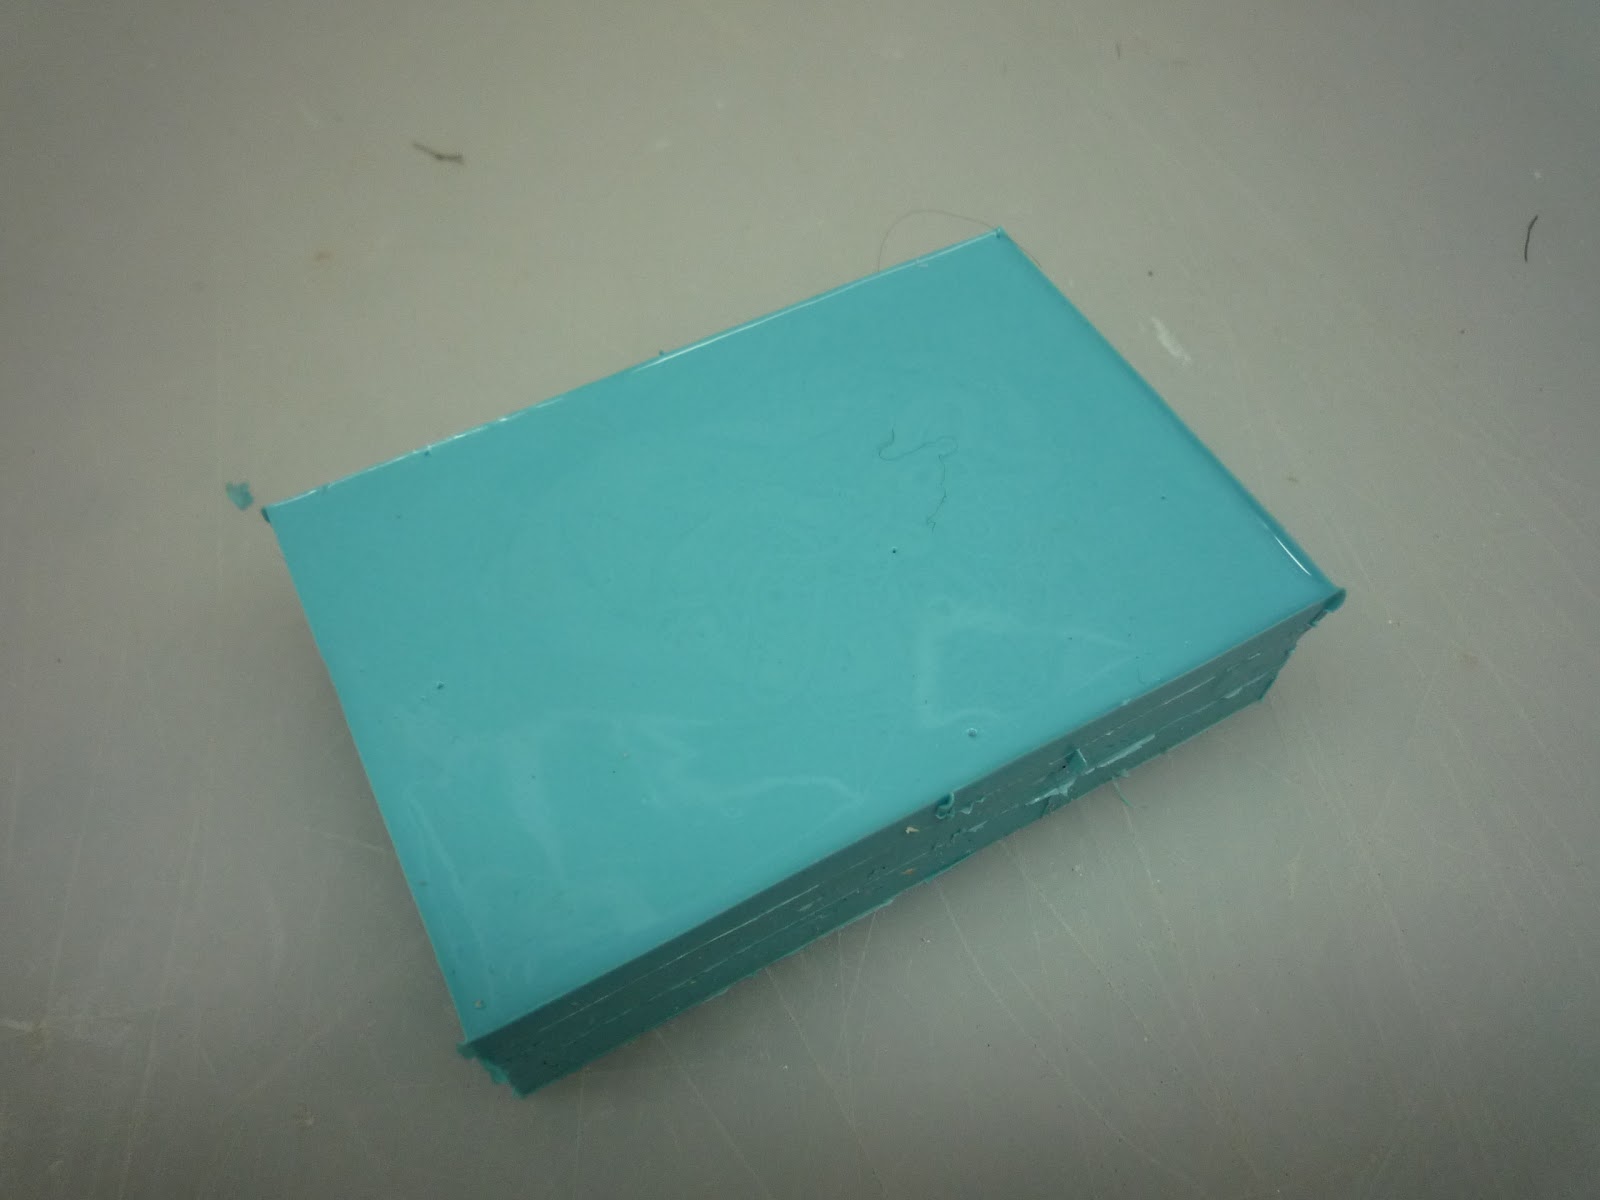
YT-1000 ramp

YT-1000 ramp
Showing posts with label Space Ship model. Show all posts

Thursday, 12 April 2018

Star Wars U Wing part 4

So as predicted in my last post I had to rip my model apart, well not all of it. After gluing the upper and lower sections together I found that the lower front was not centred, 4mm out might as well be 10mm. So I carefully cut it out and made a new one, seen here with the old behind.


The new one is much better.


A rubber mold was made of the engine and many casts poured. I have a bunch of resin to use up so I now have engines for future projects.

 I wasn't happy with the PLA 3D printed afterburner, mostly because I could not glue greebles to it. So I went old school and turned a new one on my lathe from acrylic rod. The end parts are 3D prints that I designed, those will be ok. 

Styrene and acrylic being a similar material makes gluing parts together with the same solvent easy.


The engine mounts and intake vents were also molded and cast.
I had to securely attach the engines, which are a bit heavy, to the mounts. These screws will fit into holes in the now hollow engines (because I drilled them out on a drill press)
You can see the ends of the screws in the engine.


Using some wood blocks, tongue depressors and rubber bands I lined up the two engines with the mount.

Then held in a vice so I could dribble some 5 minute epoxy over the wood screws. This held them in place quite well.


I had to build this jig to ensure the afterburners were perfectly aligned and centred with the engines.


Some greebles were added to finish off the front grill.


As you can see the engines and a few other parts were pre-painted. I used acrylic paints and then a method of wetting a section of the model with odourless paint thinner, then adding small dabs of artists oils and then brushed to blend. A bit tricky to explain but there are some videos online that explain various methods. After that it's a matter of assembly. 

And the finished model.


Saturday, 9 March 2013

YT-1000 Part 0, Specifications.

I thought I would make this post to inform you of what the Corellian Engineering Corporation's (CEC) YT-1000 Corellian Freighter is. 
First the Specifications:
(all info provide by the Haynes Manual for the Millennium Falcon)

Length: 28m
Maximum speed (atmosphere): 740kph
Hyperdrive: Class 3
Hyperdrive  backup: Class 16
Armament: 1 standard laser cannon
Crew: 2
Passengers: 4
Cargo: 75 metric tons
Cost: 85,000 (20,000 used)

For comparison here are the same Specifications for the YT-1300 (Millennium Falcon)

Length: 34.75m
Maximum speed (atmosphere): 800kph
Hyperdrive: Class 2
Hyperdrive  backup: Class 12
Armament: 1 standard laser cannon
Crew: 2
Passengers:9-15
Cargo: 25-100 metric tons
Cost: 100,000 (25,000 used)

These are of course factory specifications. 

Han Solo later upgraded his YT-1300 to a Class 0.5 Hyperdrive, making it one of the fastest ships in the Galaxy, and illegal.

The basic YT-1000 had fewer interior modular options than later models, but had a cargo capacity of up to 75 metric tons. The cockpit was placed in the center of the ships upper hull. It had large transparisteel windows which were retrofitted from earlier Barloz-class freighters.
The YT-1000 was well received by customers, but CEC decided to have a limited run of the YT-1000 in favor of building larger ships. 
The YT-1000 was replaced by the YT-1200 and the YT-1210, which introduced the side mounted cockpit. 


Sunday, 13 January 2013

YT-1000 Test Assembly

Just thought I'd assemble the model to see how it's all coming together. Nothing is glued up, just held together with clear tape. Still lots to do yet.


Thursday, 10 January 2013

More Small parts casting

I recently bought a couple model Flak gun kits to scrounge for parts. A 1/48 scale and 1/35 scale German 88mm GunFlak 36/37. I selected the parts I wanted and modified them so I could mold them with a one piece block mold. This meant back filling any gaps, holes and bridges, anything that would allow the molding rubber to get into or behind. Parts were then glued to a piece of .5 mm styrene and enclosed on each side with my LEGO blocks. The advantage of doing this is of course unlimited greeblies. I can now add as many as I want without worrying about running out.


Selected parts.

Set up ready for molding. I used OOMOO 30 for this mold.
Over night in the pressure pot and great results. I also cut the back off a tank model and molded it as well. I'll place it under the YT-1000 between the engines.


I used Smooth Cast 305, it has a longer pot life and requires 30 minutes to set, allowing more time to pour and for bubbles to be crushed in the pressure pot. 


I just dribble the Smooth Cast into each cavity and seal up the pressure pot. Even though the casting material sets up in 30 minutes, I recommend you leave it in the mold overnight. The cast may be set up, but I find it's still a bit soft and can easily be deformed by handling it.

IMPORTANT NOTE: When molding and casting this type of mold, it is very important that the molds are laid out perfectly level inside your pressure pot or on your work bench. If not you will end up with a wedge shaped mold as the rubber sets up. Then when you set your mold up to cast, the casting material will flow to one side and you will not be happy with the results.

 
The cast parts are perfect and bubble free. All I have to do is cut away the overspill and sand the back side of each part.
Perfect copies.


I'm really impressed with how this part came out. As you can see it's only 34mm long and you can see that all the details of the part are cast with no bubbles.


Sunday, 9 December 2012

YT-1000 Part 5 Front Landing Gear Pods

Originally I was only going to build 3 sets of landing gear, two in the back, one in front. But I decided to add two more in front just like the Falcon has. I set out to scratch build them instead of vacuum forming like I did other parts.
I used images of the Falcons under side to get some idea of what it should look like. Since the YT-1000 is smaller that the Falcon, I couldn't just copy parts from the Falcon and stick it on the YT-1000. Since I don't have drawings for the bottom side, and I don't think they exist, I can make it up as I like.
I made this diagram to show the difference in the size of the two ships. I used the docking rings or escape pods as they are sometimes called as a point of reference. Assuming they would be the same size on both ships. The YT-1300 on the left and YT-1000 on the right. Other parts like the turret windows are also the same size, but the whole ship is obviously smaller.
Started out with a card stock mockup. This was pretty tricky as the hull is curved and the bottom of the new part had to be in the same plane as the existing center pod.


Once the card stock mockup was acceptable, I just traced the cards onto styrene.
The other side was just a mirror image of the first. I traced the parts from the right to make the left.
Here you can see what I mean about the pods needing to be on the same plane.
The holes are cut for the landing gear and transferred to the hull to be cut out as well.

A box is built for each pod. As you can see it would protrude right into the hull.
Hole marked and corners drilled.


YT-1000 Part 4 Armor plates

OK, I've been spending some time cutting and fitting armor plates to the upper and lower hulls of the YT-1000 Corellian Freighter. There will be about 120 panels per side, about as many 'patches' and don't ask me how many notches. Each panel is different and individually cut, so it goes to say that this part of the build is somewhat slow and tedious. But one piece at a time and the job will get done.
The upper side is mostly finished.

The under side has a way to go yet, but I'm figuring out the 'patches' and they seem to be looking ok.


Molding and Casting landing bay doors

The YT-1000 model I'm building has 5 sets of landing gear. I have molds for the landing gear but will need to make 5 sets of bay doors. So making a mold and casting them is the ideal solution.
Materials used:
Smooth-On's  OOMOO 25, Smooth Cast 300
Mann Ease Release 200


The doors are scratch built and are 12mm x 33mm and only .5mm to 1.5mm thick. This is the inner side.
And the outer side.
Here I've attached the parts to styrene strips, the larger filler pipe on the right, and smaller air vents above.


The grey part will be the landing bay bulkhead with the opening mechanism.


I purchased a pasta maker which allows me to roll my plasticine into nice flat sheets. I've set the parts onto the sheet. 


The parts need to set down into the plasticine so the rubber can't get under the parts.


This is after the first pour and this side of the parts have been cleaned up. Some stray rubber will find it's way under so you need to remove any bits.
The final pour and a block of rubber.


The mold release worked great, the two halves pull apart with no problem spots.
The two mold halves. I used some small scissors to trim any rubber away from the air vents and cut a funnel shape at the pour hole.


The mold is set up and ready to pour. It's difficult to measure how much casting material I'll need so I just guess and pour the extra into some standby molds.


Don't need very much for such a small mold.


The casting material has set up and oozed out of the air vents. That tells me the mold is full.


It's important to know that small amounts of casting material will set up more slowly than large amounts. Part of the chemical reaction in the mixed casting fluid creates heat, this helps in setting the solution. Small amounts will only create small amounts of heat. So it's a good idea to leave your cast in the mold until you are sure it's hard enough to handle. Too soon and you risk deforming the soft cast.

A perfect cast. A bit of flash where the casting material oozed into the space between the molds, not at all unusual and easy to trim off.


Here the parts are set beside the originals.

This is what the doors would looked like closed. On the finished model they will always be open.