I'm going to go through the steps of molding and casting a prop part. In this case it's the gun grip for my DLT 19 blaster. I made the original part from MDF, then primed and sanded it smooth.
The part needs to be buried about half way up in Plasticine. Make sure the
Plasticine you use is compatible with your molding material.
Smooth out the Plasticine as you go, and make sure you get a nice smooth seal around the object.
Trim the Plasticine to a minimum of 1/2 an inch around the object.
I plan on filling the mold from the bottom of the hand grip, or upside down. I'll need to allow any trapped air out as this happens. I've marked my paths for the air vents.
I'm using 1.5mm styrene rods, but you can use wax or some other rod type material, as long as it's not porous. You don't want the rubber to stick to it. Make sure the rod you use is well seated into the Plasticine so no rubber can get under it.
A good tip is to create a groove around the perimeter of the object. This will help 'key' the two halves together as well as create a better seal.
You can see in this image how my vents will work to let air rise out the top of the mold. Any high spot will create an air 'pocket'. The ball bearings act as 'keys', they will be removed before molding the second half.
I've built a box from scraps of foam core, held together in the corners with hot glue. The bottom edge is also glued in a few spots to keep it in place. Make sure you have a good seal, you don't want all or even some of your rubber to leak out. Keep in mind you will need to use this box again.
After spraying the mold release as per the instructions on the can, you can pour your rubber into the mold. However don't just glob it in like a cake mix, you must pour it in a slow and small stream. This will prevent bubbles being trapped in the mold. Notice the small black line on the inside, that's my fill line, about 1/2 inch above the highest point of the object. I'm using Smooth On's Mold Max 40.
Let it set up over night.
The next day you can carefully open the box by cutting one of the corners and the dabs of glue on the bottom. Then peel the box away from the rubber.
Flip the mold over and remove the base to expose the
Plasticine.
Then carefully remove it. Try not to disturb the object or the vents. You can remove the ball bearings.
Do your best to remove all the
Plasticine and any stray bits of rubber. The mold should be clean and smooth.
Re build your box (now up side down) and seal the corner. Apply mold release. I prefer Mann Ease Release 200.
Fill the box and let it set up overnight.
You can remove the mold from the box now...
...and begin to
separate the two halves. You can remove the vents as you go, just be careful not to tear the mold.
Work your way carefully around the object...
...until you
separate the two halves and can remove the original object. Take some time to inspect the mold, look for any bits of rubber that have crept into places you don't want it, and trim it off.
I've used an Xacto to enlarge the pour hole and cleared the path of the air vents.
Cut some cardboard to match the shape of the mold, then secure the two halves with elastic bands.
Ready for pouring. To estimate how much material to mix, I sometimes fill a container to the brim with water, then carefully dunk the object in. Then remove the object and measure how much water is needed to refill the container. Another way is to fill the mold halves with rice or some other small grain, then measure the amount.
Measured amount of the smooth cast of your choice.
Into the pressure tank at 60lbs.
After a while, open the mold to reveal the cast. It's always tempting to open a mold too early, or handle a cast before it's fully set. I try to pour my casts before I go to bed, that way I can't do anything with it until I come home from work the next day.
A bit of cleaning up to do is normal.
And a replica is made.
Just thought I'd assemble the model to see how it's all coming together. Nothing is glued up, just held together with clear tape. Still lots to do yet.
The YT-1000 model I'm building has 5 sets of landing gear. I have molds for the landing gear but will need to make 5 sets of bay doors. So making a mold and casting them is the ideal solution.
Materials used:
Smooth-On's OOMOO 25, Smooth Cast 300
Mann Ease Release 200
The doors are scratch built and are 12mm x 33mm and only .5mm to 1.5mm thick. This is the inner side.
And the outer side.
Here I've attached the parts to styrene strips, the larger filler pipe on the right, and smaller air vents above.
The grey part will be the landing bay bulkhead with the opening mechanism.
I purchased a pasta maker which allows me to roll my plasticine into nice flat sheets. I've set the parts onto the sheet.
The parts need to set down into the plasticine so the rubber can't get under the parts.
This is after the first pour and this side of the parts have been cleaned up. Some stray rubber will find it's way under so you need to remove any bits.
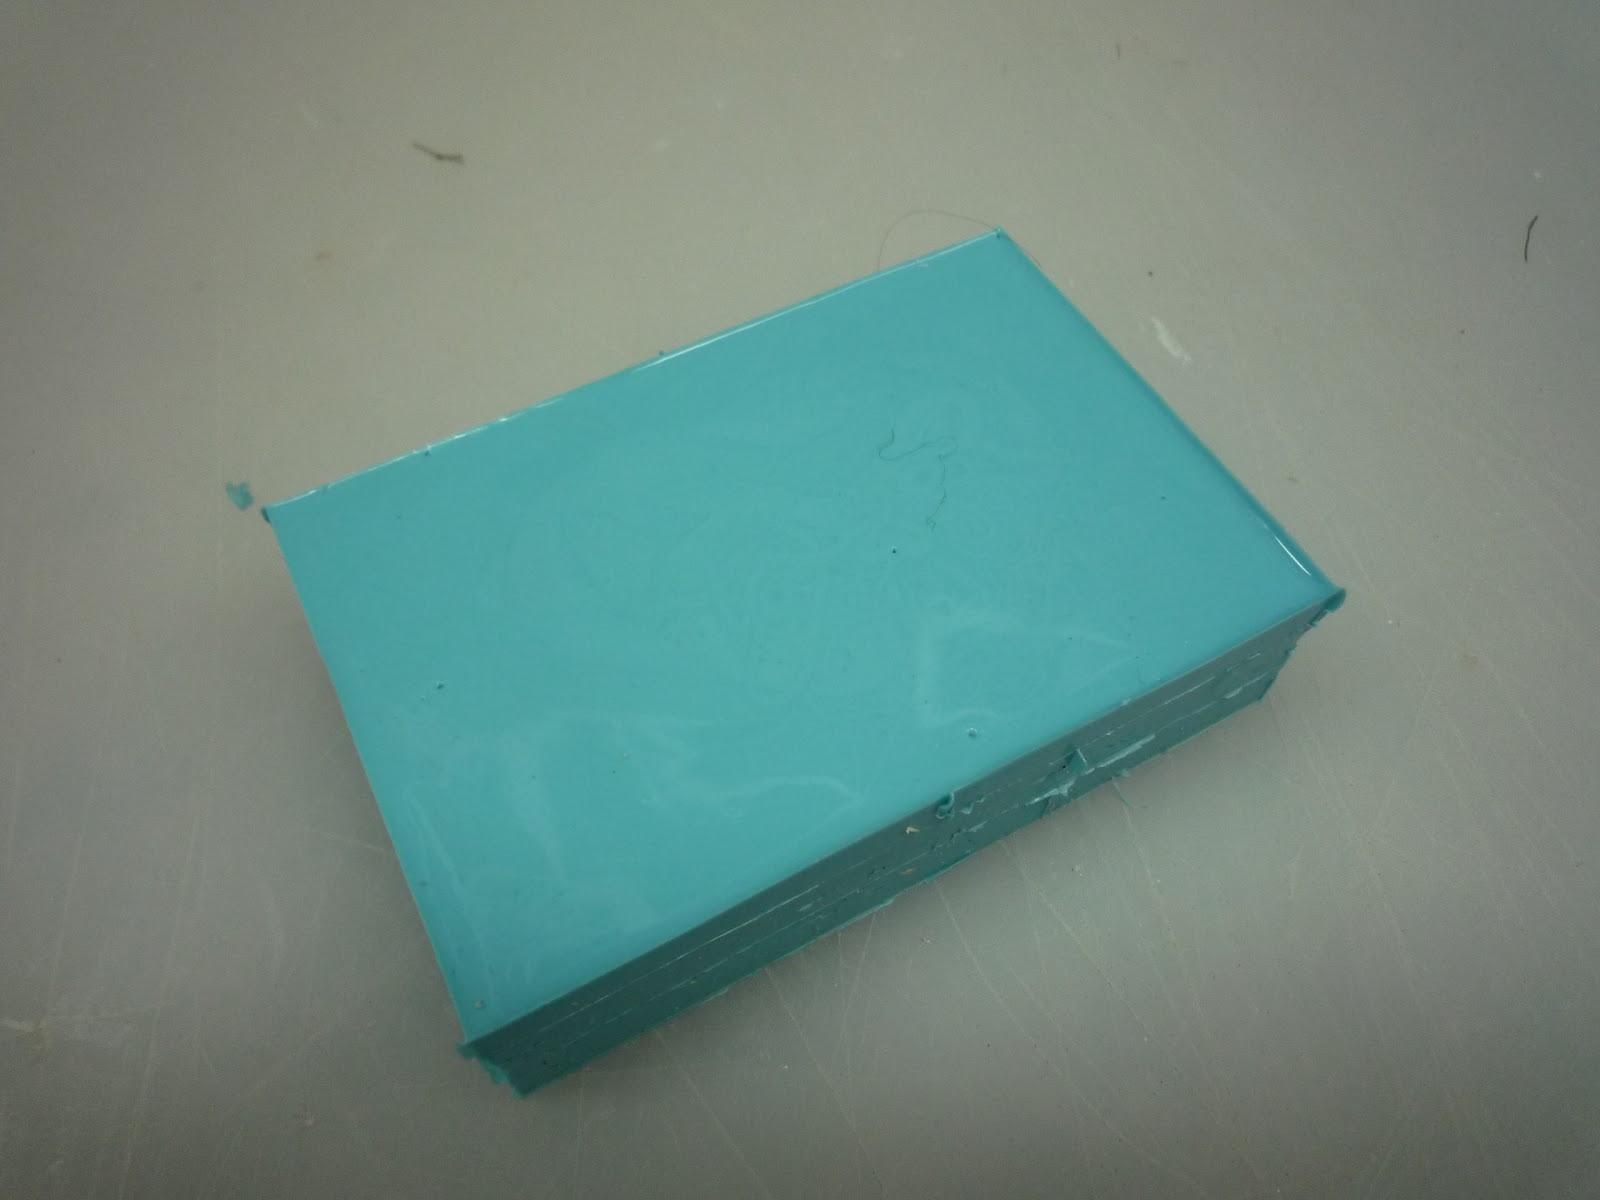
The final pour and a block of rubber.
The mold release worked great, the two halves pull apart with no problem spots.
The two mold halves. I used some small scissors to trim any rubber away from the air vents and cut a funnel shape at the pour hole.
The mold is set up and
ready to pour. It's difficult to measure how much casting material I'll
need so I just guess and pour the extra into some standby molds.
Don't need very much for such a small mold.
The casting material has set up and oozed out of the air vents. That tells me the mold is full.
It's important to know that small amounts of casting material will set up more slowly than large amounts. Part of the chemical reaction in the mixed casting fluid creates heat, this helps in setting the solution. Small amounts will only create small amounts of heat. So it's a good idea to leave your cast in the mold until you are sure it's hard enough to handle. Too soon and you risk deforming the soft cast.
A perfect cast. A bit of flash where the casting material oozed into the space between the molds, not at all unusual and easy to trim off.
 Here the parts are set beside the originals.
This is what the doors would looked like closed. On the finished model they will always be open.